Coffee lovers rejoice! There’s something magical about transforming raw green coffee beans into a fragrant, flavorful brew that’s uniquely yours. While commercial roasters cost hundreds or even thousands of dollars, you likely have an affordable alternative sitting in your kitchen cabinet: a popcorn maker. This simple appliance can help you create freshly roasted coffee that rivals specialty shops—at a fraction of the cost.
Why Roast Your Own Coffee Beans?
Roasting your own coffee beans offers several compelling benefits:
- Ultimate freshness: Coffee peaks in flavor within days of roasting
- Customization: Control the roast level to match your taste preferences
- Cost savings: Buy green beans at lower prices than pre-roasted
- Exploration: Experiment with beans from different regions and farms
- Satisfaction: Experience the complete bean-to-cup journey
What You’ll Need
Before diving into the roasting process, gather these essential items:
- Air popcorn popper (side-vented models work best)
- 1/2 cup green coffee beans (approximately 4 oz)
- Large metal colander for cooling
- Oven mitts or heat-resistant gloves
- Timer
- Storage container with one-way valve
- Optional: Digital thermometer
Choosing the Right Popcorn Maker
Not all popcorn makers are created equal for coffee roasting. Look for one with these characteristics:
- Side-vented heat (not mesh-bottomed)
- 1000-1500 watts of power
- No automatic shutoff feature
- Removable chute for chaff collection
Budget-friendly models from thrift stores work perfectly, as this process will likely void warranties and eventually wear out the appliance.
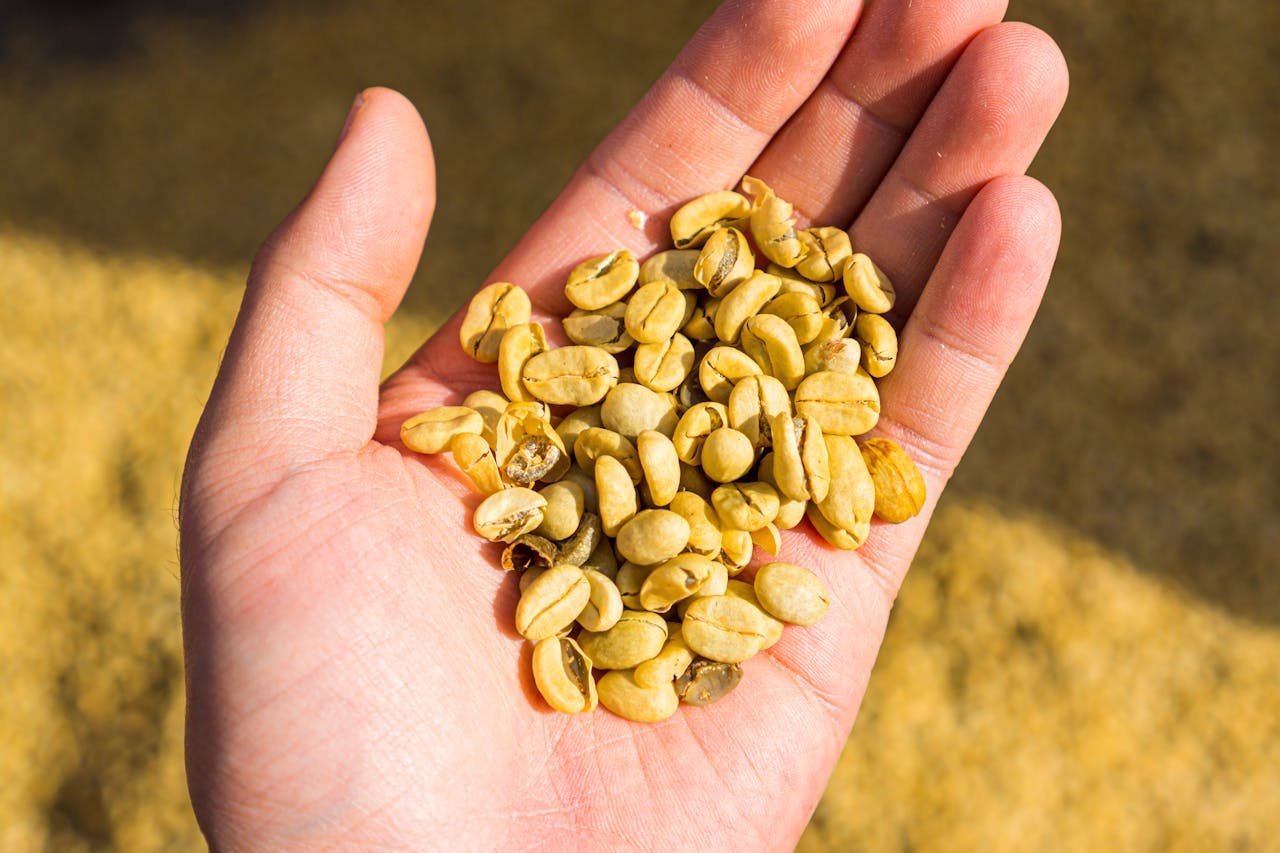
Selecting Green Coffee Beans
Green (unroasted) coffee beans are widely available online from specialty suppliers. For beginners, consider these beginner-friendly options:
- Brazilian beans: Naturally sweet with chocolate and nut notes
- Colombian beans: Well-balanced with caramel sweetness
- Ethiopian beans: Fruity and floral with complex profiles
Start with a single origin rather than a blend to better understand how roasting affects flavor development.
The Roasting Process: Step by Step
- Set up your station: Choose a well-ventilated area, preferably near an open window or under a range hood. Roasting creates smoke and chaff (the papery outer layer of the bean).
- Preheat the popcorn maker: Run it empty for 1-2 minutes to reach optimal temperature.
- Add the beans: Pour 1/2 cup (about 4 oz) of green beans into the chamber. Using more will prevent proper heat circulation.
- Begin roasting: The beans will start to turn from green to yellow within 1-2 minutes, making a light crackling sound.
- Monitor the process: Beans will change color from yellow to tan, then light brown, medium brown, and eventually dark brown if desired. Never leave the process unattended.
- Listen for the “cracks”: Coffee roasting has two distinct audible phases:
- First crack (around 385°F): Sounds like popcorn popping, indicating light to medium roast
- Second crack (around 435°F): More subtle, snapping sound, indicating medium-dark to dark roast
- Determine your roast level:
- Light roast: Stop shortly after first crack begins
- Medium roast: Stop when first crack ends
- Medium-dark roast: Stop between first and second crack
- Dark roast: Stop early in second crack
- Very dark roast: Stop midway through second crack (not recommended for beginners)
- Cool immediately: Pour beans into a metal colander and stir continuously to halt the roasting process. Some roasters use two colanders, transferring beans back and forth to speed cooling.
- Rest the beans: Allow freshly roasted beans to degas for 12-24 hours before grinding and brewing.
Common Roast Levels and Their Characteristics
| Roast Level | Color | Flavor Profile | Best For |
|---|---|---|---|
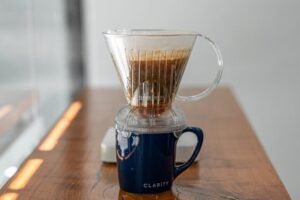
| Light | Cinnamon to light brown | Bright acidity, floral notes, origin characteristics prominent | Pour-over, drip |
| Medium | Medium brown | Balanced sweetness and acidity, fuller body | Drip, pour-over, French press |
| Medium-dark | Dark brown with some oils | Lower acidity, rich sweetness, chocolate notes | Espresso, French press |
| Dark | Very dark with oily surface | Bold, smoky, caramelized sugars | Espresso, cold brew |
Affiliate Product Links for Home Coffee Roasters
- Home Roasting Equipment
- Air Popper: A budget-friendly option that provides consistent heat.
- Dedicated home coffee roaster for precision roasting
- Green Coffee Bean Suppliers
- Essential Tools
- Grinders
- Entry-level burr grinder: Baratza Encore (perfect for pour-over and drip brewers)
- Mid-range option: Fellow Ode Brew Grinder (specialized for filter coffee)
- Prosumer choice: Baratza Vario (versatile for all methods)
- Manual alternative: Timemore C2 Hand Grinder (great for travel)
- Budget blade option: KRUPS Electric Spice and Coffee Grinder (if you must use a blade)

Troubleshooting Common Issues
Uneven Roast
If beans show inconsistent coloration, try reducing batch size or gently stirring during the process. Uneven heat distribution is common in popcorn makers not designed for coffee.
Rapid Roasting
If beans reach second crack in under 5 minutes, your popper may be too hot. Try starting with a cooler popper or adding a longer extension cord to slightly reduce power.
Too Slow Roasting
Roasts taking longer than 15 minutes lack development. Your popper may be underpowered or overloaded with beans. Reduce batch size or find a higher-wattage model.
Nutritional Information
Freshly roasted coffee beans contain negligible calories when brewed. However, they do contain several beneficial compounds:
- Caffeine: A natural stimulant that enhances alertness and focus
- Antioxidants: Coffee is rich in disease-fighting compounds
- Chlorogenic acids: Most abundant in lighter roasts, may offer health benefits
- Niacin (Vitamin B3): Small amounts are present in brewed coffee
Note that darker roasts contain slightly less caffeine but more N-methylpyridinium, a compound that may help reduce acid production in the stomach.
Storing Your Freshly Roasted Coffee
To preserve freshness:
- Store in airtight containers with one-way valves to release CO2
- Keep away from light, heat, moisture, and strong odors
- Use within 2-3 weeks for optimal flavor
- Avoid refrigeration, which can introduce moisture
- For longer storage, freeze in airtight containers
Safety Considerations
Home roasting requires caution:
- Never leave the roasting process unattended
- Ensure adequate ventilation to manage smoke
- Use heat-resistant gloves when handling hot equipment
- Keep flammable materials away from the roasting area
- Disconnect the popper immediately after use
Conclusion
Roasting coffee at home with a popcorn maker offers a rewarding way to elevate your coffee experience. While it takes practice to achieve consistent results, the journey itself—filled with aromatic discoveries and flavor experiments—becomes part of the joy. Start with small batches, keep detailed notes of times and temperatures, and soon you’ll be crafting personalized roasts that perfectly match your taste preferences.
Remember that each batch will be slightly different, and that’s part of the charm of home roasting. As you develop your skills, you’ll gain a deeper appreciation for the complex art of coffee roasting and the incredible variety of flavors possible from a humble coffee bean.
This post may contain affiliate links. If you make a purchase through these links, I may earn a small commission at no extra cost to you.