For coffee lovers who crave rich, bold espresso but don’t own an expensive espresso machine, the Moka pot is your ultimate solution. This classic stovetop brewer delivers a strong, espresso-like coffee that rivals café-quality drinks—all without breaking the bank. In this guide, we’ll walk you through how to brew espresso without a machine using the Moka pot method. Packed with step-by-step instructions, with expert tips. This article will help you master the art of brewing at home.
Why Choose the Moka Pot for Espresso?
The Moka pot has been a staple in kitchens worldwide since its invention in 1933 by Alfonso Bialetti. Here’s 4 reasons why it’s a favorite among coffee enthusiasts:
1. Affordable: Unlike high-end espresso machines, a quality Moka pot costs a fraction of the price – check out this Moka Pot for Italian and Cuban Café.
2. Compact and Durable: Made from aluminum or stainless steel, Moka pots are built to last and take up minimal counter space.
3. Versatile: Perfect for making small batches of strong coffee or espresso-style shots for lattes and cappuccinos.
4. No Electricity Needed: Ideal for camping trips or areas with power outages.
While it doesn’t produce true espresso (which requires high pressure), the Moka pot creates a concentrated brew that’s close enough to satisfy most espresso lovers.
What You’ll Need for Moka Pot Espresso
To brew the perfect cup, gather these essentials:
- Moka Pot (choose between aluminum or stainless steel options—find one here – Stainless Steel Moka Pot Espresso Stovetop Coffee Maker)
- Freshly Roasted Coffee Beans
- Burr Grinder (for consistent grind size – Aromaster Conical Burr Coffee Grinder Electric,Coffee Bean Grinder with 48 Gind Settings)
- Filtered Water
- Stovetop or Heat Source
Optional accessories:
- Digital Scale (to measure coffee and water accurately—Etekcity Food Kitchen Scale available here)
- Thermometer (to monitor water temperature)
Step-by-Step Guide to Brewing Espresso with a Moka Pot
Step 1: Prepare Your Equipment
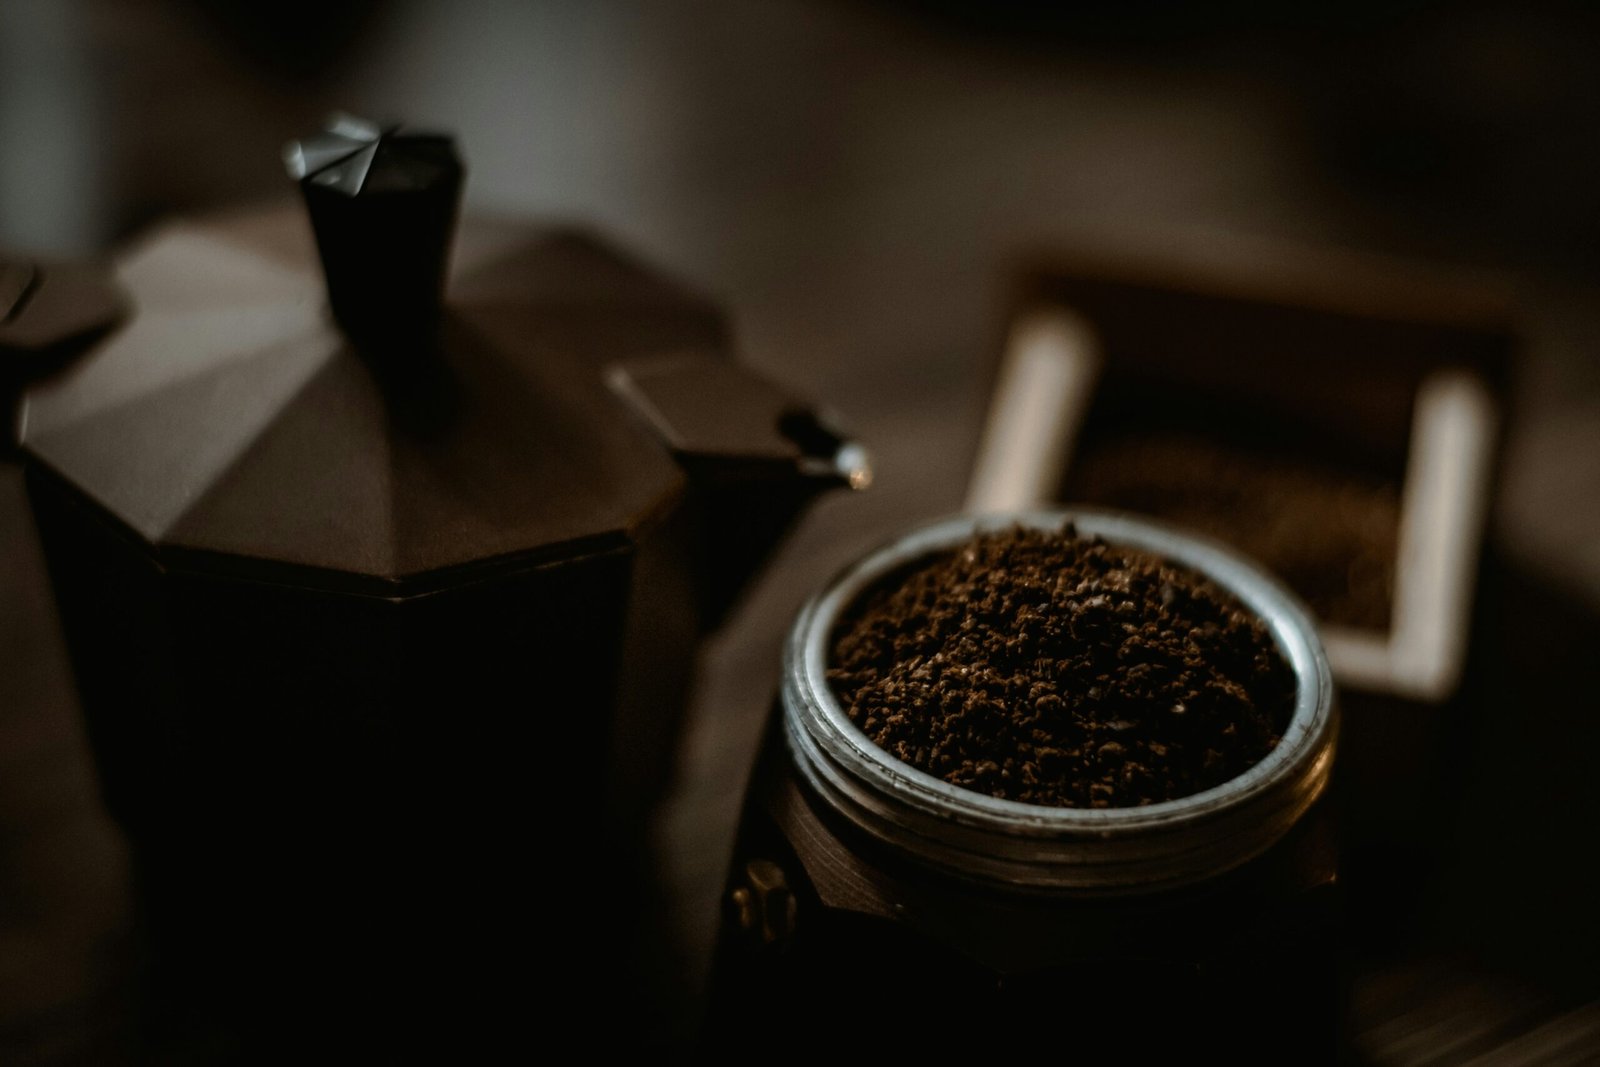
Start by disassembling your Moka pot into its three main components: the bottom chamber (water reservoir), the filter basket, and the top chamber (where brewed coffee collects). Rinse all parts with warm water to remove any residual flavors.
Step 2: Measure and Grind Your Coffee
Use a medium-fine grind consistency, slightly coarser than espresso but finer than drip coffee. A general guideline is:
- 1 tablespoon of coffee per cup capacity of your Moka pot (e.g., 7g per 50ml).
- Use a digital scale for precision if available.
Pro Tip: Always use freshly ground beans for maximum flavor. Look for dark roasts or espresso blends designed for bold profiles.
Step 3: Fill the Bottom Chamber with Water
Fill the bottom chamber with filtered water up to the safety valve. Avoid overfilling, as excess water can dilute your brew.
Step 4: Add Coffee to the Filter Basket
Place the filter basket inside the bottom chamber and fill it evenly with ground coffee. Do not tamp the grounds—simply level them off with your finger or a spoon. Over packing can block water flow and lead to uneven extraction.
Step 5: Assemble the Moka Pot
Screw the top chamber onto the bottom securely, ensuring no gaps remain. Be careful not to over tighten, as this can damage the gasket seal.
Step 6: Heat on Stovetop
Place the Moka pot on a low-to-medium heat source. Avoid high heat, which can scorch the coffee and ruin the flavor. If possible, use a gas stove for better control.
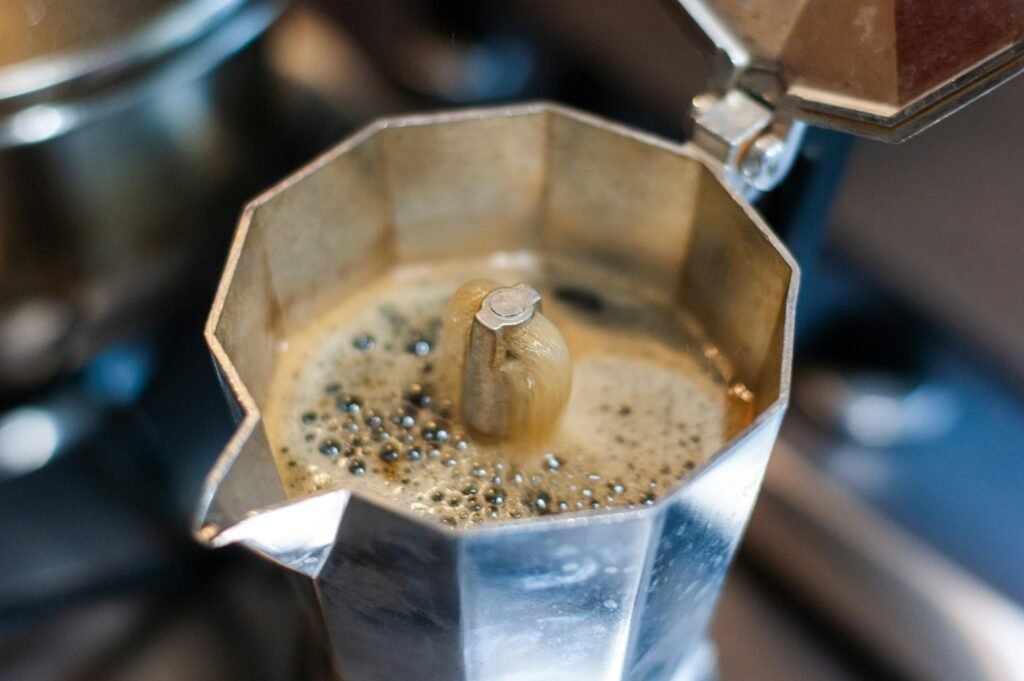
Step 7: Monitor the Brewing Process
As the water heats, steam pressure forces it through the coffee grounds and into the top chamber. Listen for a hissing or gurgling sound—it indicates the brewing cycle is complete. Remove the pot from heat immediately to prevent over-extraction.
Step 8: Serve and Enjoy
Pour your freshly brewed espresso into a preheated cup for optimal temperature retention. Sip it straight as a shot or use it as a base for milk-based drinks like lattes or cappuccinos.
Tips for Mastering the Moka Pot Method
1. Invest in Quality Tools
A reliable burr grinder ensures consistent grind size, while a premium Moka pot enhances durability and performance. Explore our recommended products below:
2. Experiment with Grind Size
Adjust the grind slightly finer or coarser based on taste preferences. Finer grinds yield stronger coffee, while coarser grinds reduce bitterness.
3. Preheat Your Cup
Warm your mug with hot water before serving to maintain the coffee’s temperature longer.
4. Clean Regularly
After each use, disassemble the Moka pot and wash all parts thoroughly. Avoid using soap on aluminum models; instead, rinse with warm water and wipe dry.
5. Store Properly
Keep your Moka pot in a cool, dry place to prevent oxidation or rust, especially if it’s made of aluminum.
Common Mistakes to Avoid
Even seasoned users make errors when brewing with a Moka pot. Here’s what to watch out for:
- Overheating: High temperatures can burn the coffee and damage the gasket seal.
- Improper Assembly: Loose connections cause leaks, while overtightening damages the pot.
- Using Pre-Ground Coffee: Pre-ground coffee often lacks freshness and may not suit the Moka pot’s grind requirements.
- Ignoring Maintenance: Neglecting cleaning leads to buildup, affecting flavor and longevity.
By avoiding these pitfalls, you’ll consistently produce delicious Moka pot espresso.
Benefits of Using the Moka Pot Method
Switching to the Moka pot offers several advantages:
- Cost-Effective: No need for expensive equipment or electricity.
- Rich Flavor Profile: Produces a bold, full-bodied brew akin to espresso.
- Portable and Compact: Perfect for small kitchens, travel, or outdoor use.
- Eco-Friendly: Reusable design eliminates single-use pods or capsules.
Final Thoughts: Elevate Your Coffee Game with the Moka Pot
Brewing espresso without a fancy machine isn’t just possible—it’s a delightful ritual when you’ve got a Moka Pot by your side. This humble stovetop wonder has been the morning companion of coffee lovers for generations, quietly delivering robust, soul-warming brews without the intimidating price tag or counter space of its electric cousins. There’s something deeply satisfying about the familiar gurgle as coffee begins to rise, filling your kitchen with that irresistible aroma. Anyone who’s watched a Moka pot work its magic knows it’s not just about the destination—a cup that rivals your local café—but about the simple joy of the journey. With a little care, quality beans, and the gentle guidance of experience, your Moka pot becomes more than a tool—it becomes the quiet hero of countless memorable mornings.
This is currently my favorite way to make lattes!
Happy brewing!
This post may contain affiliate links. If you make a purchase through these links, I may earn a small commission at no extra cost to you.